yiannis
2015-12-28, 14:00:40
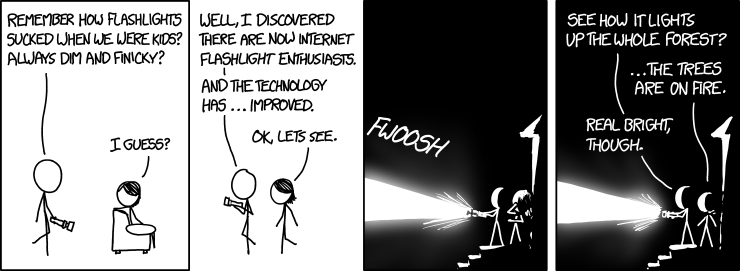
The plan is to build an ultra-bright flashlight, using a 100W LED. The inspiration comes from a recent XKCD comic.
The plan is to build an ultra-bright flashlight, using a 100W LED. The inspiration comes from a recent XKCD comic.
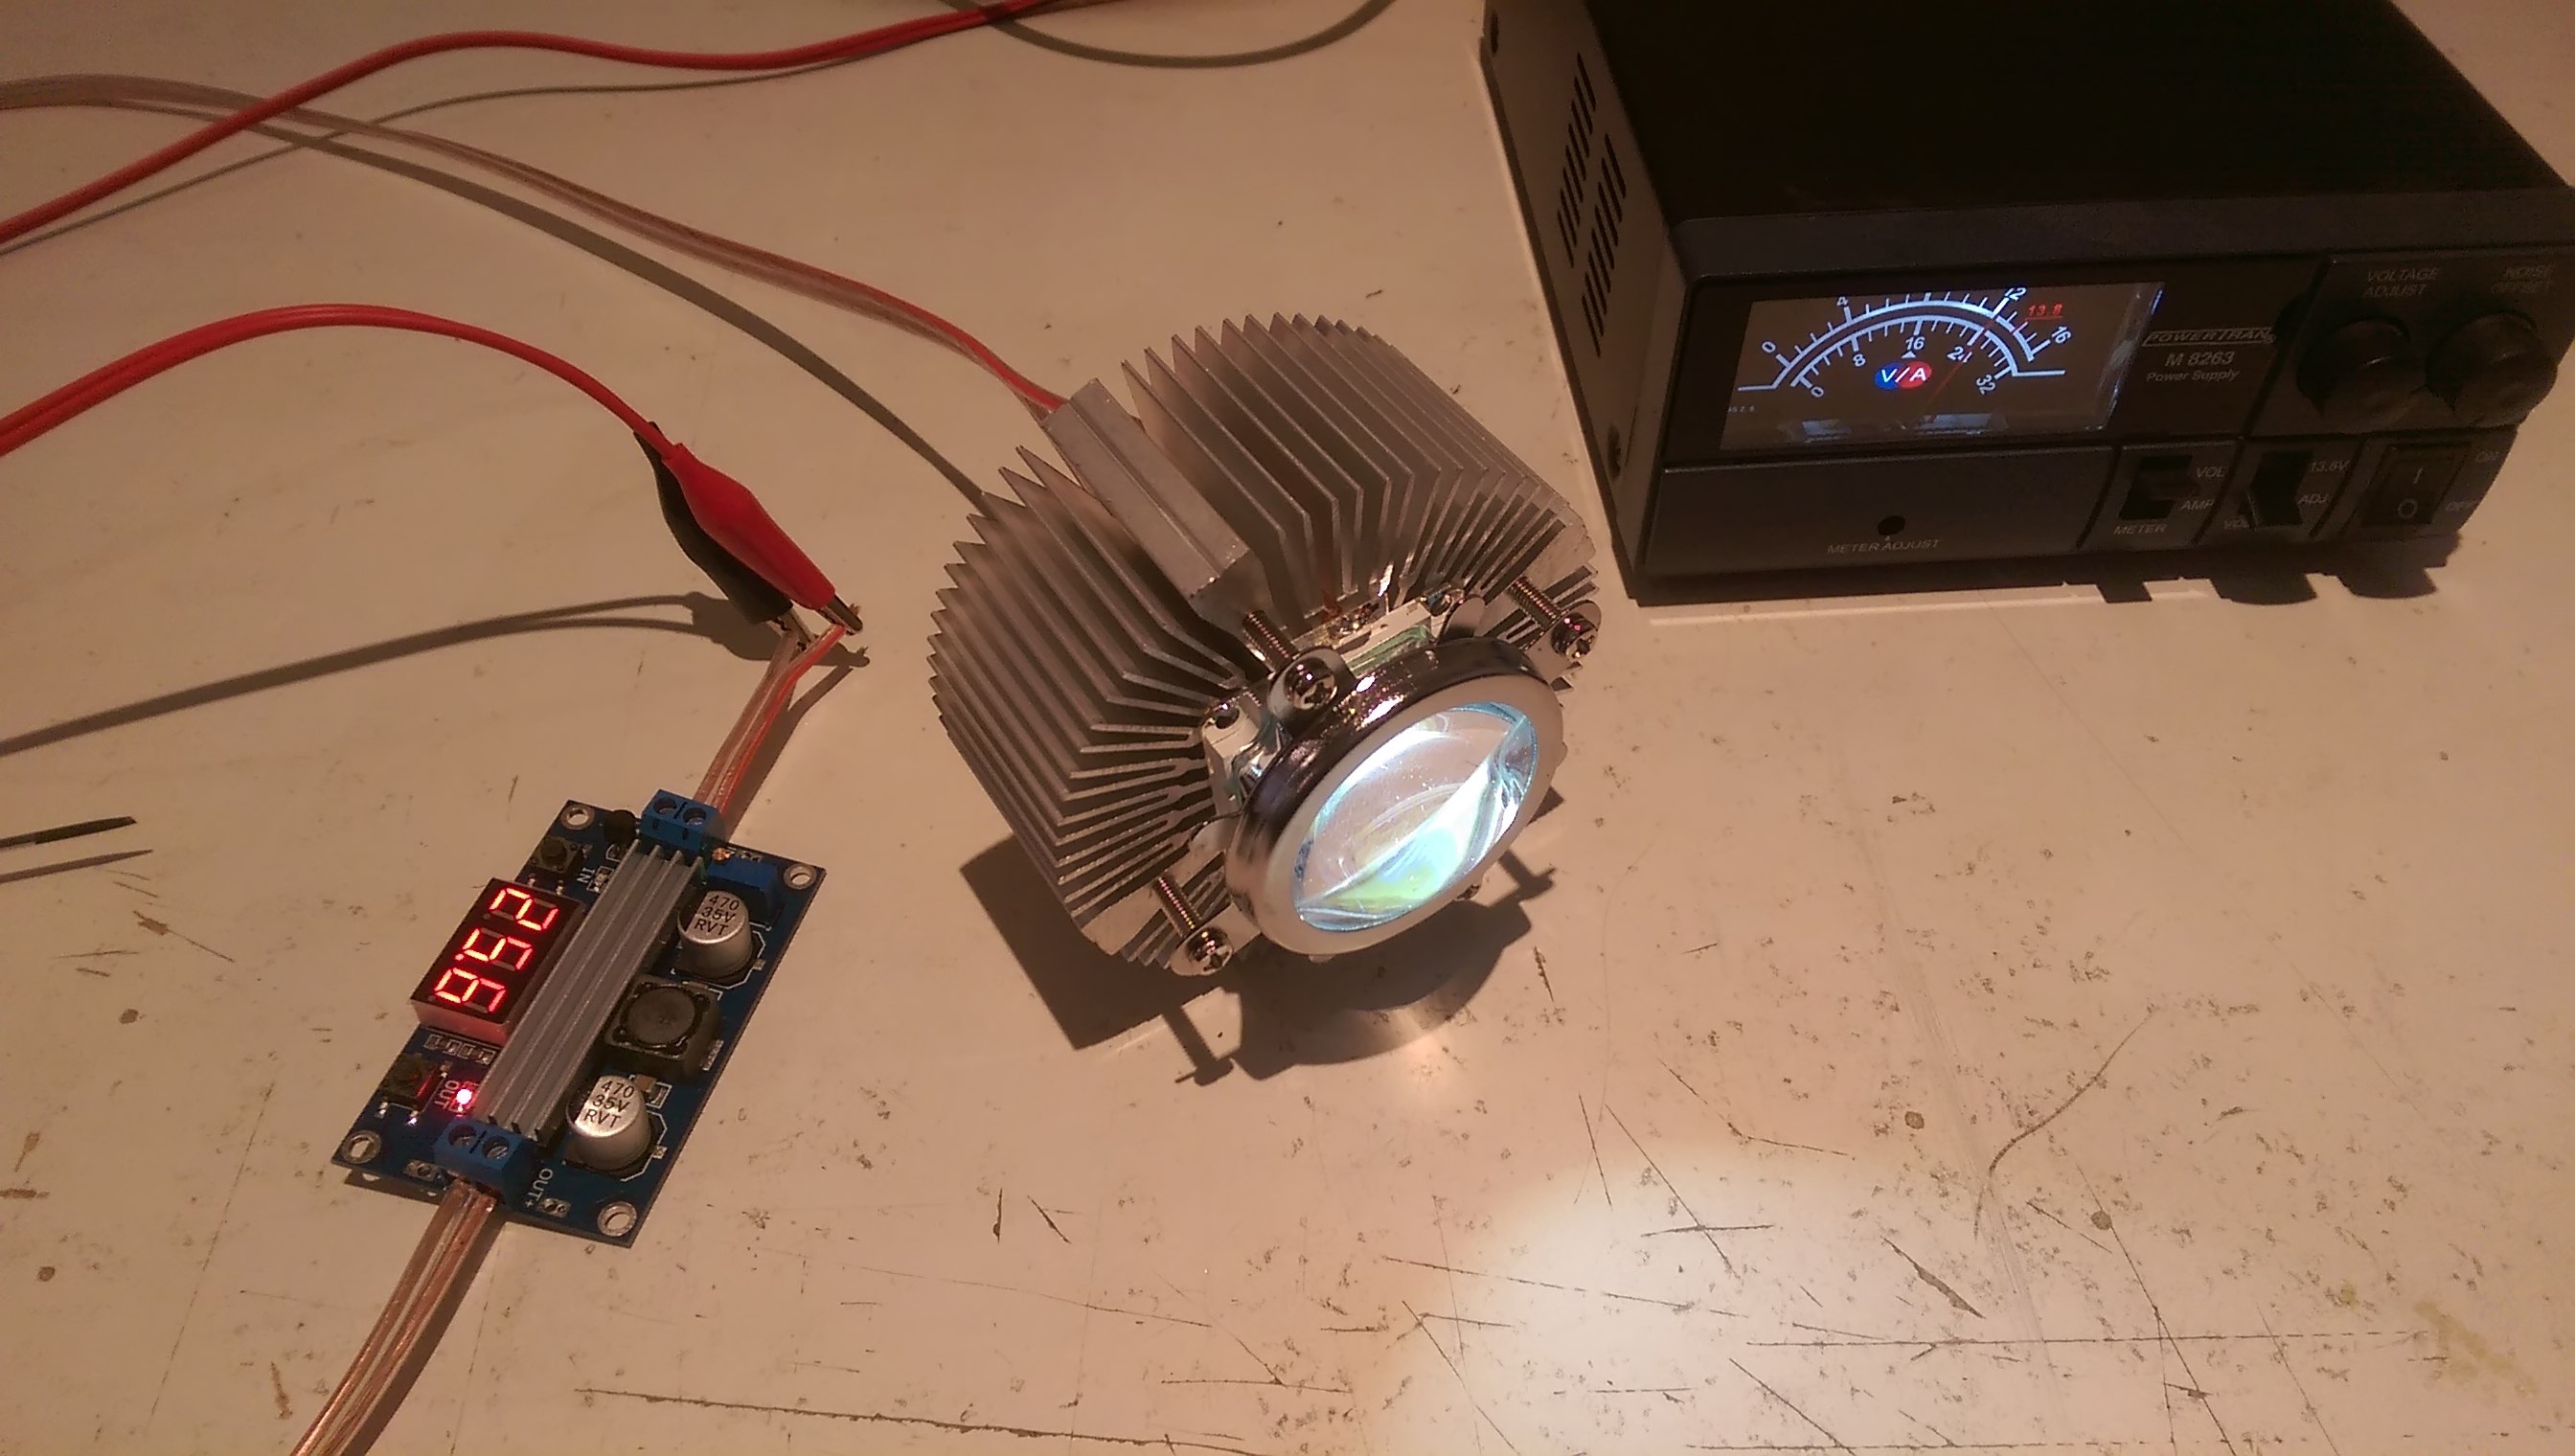
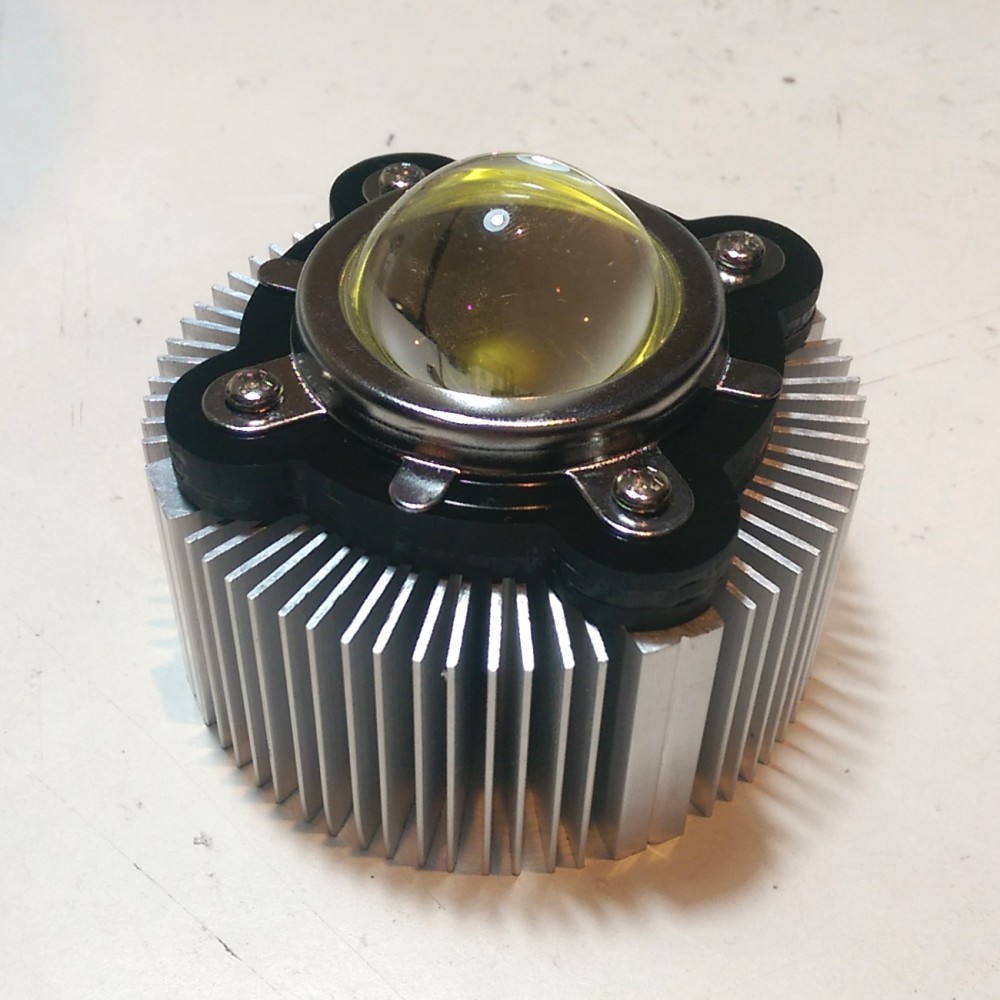
The LED modules, heatsinks and voltage arrived, so I quickly put them together to see how well they worked/looked. After hearing some horror stories about dodgy eBay LEDs, I was pleased to see that all 100 diodes in the module lit up correctly.
The modules are supposed to run at 35-36V, but I gently ramped up the voltage as I didn't know how good the heatsink was. Here's the LED running at 25.6V.
Here's the LED running at 27.9V. The workshop lights were still on in this photo, but the LED drowns them out :-D.
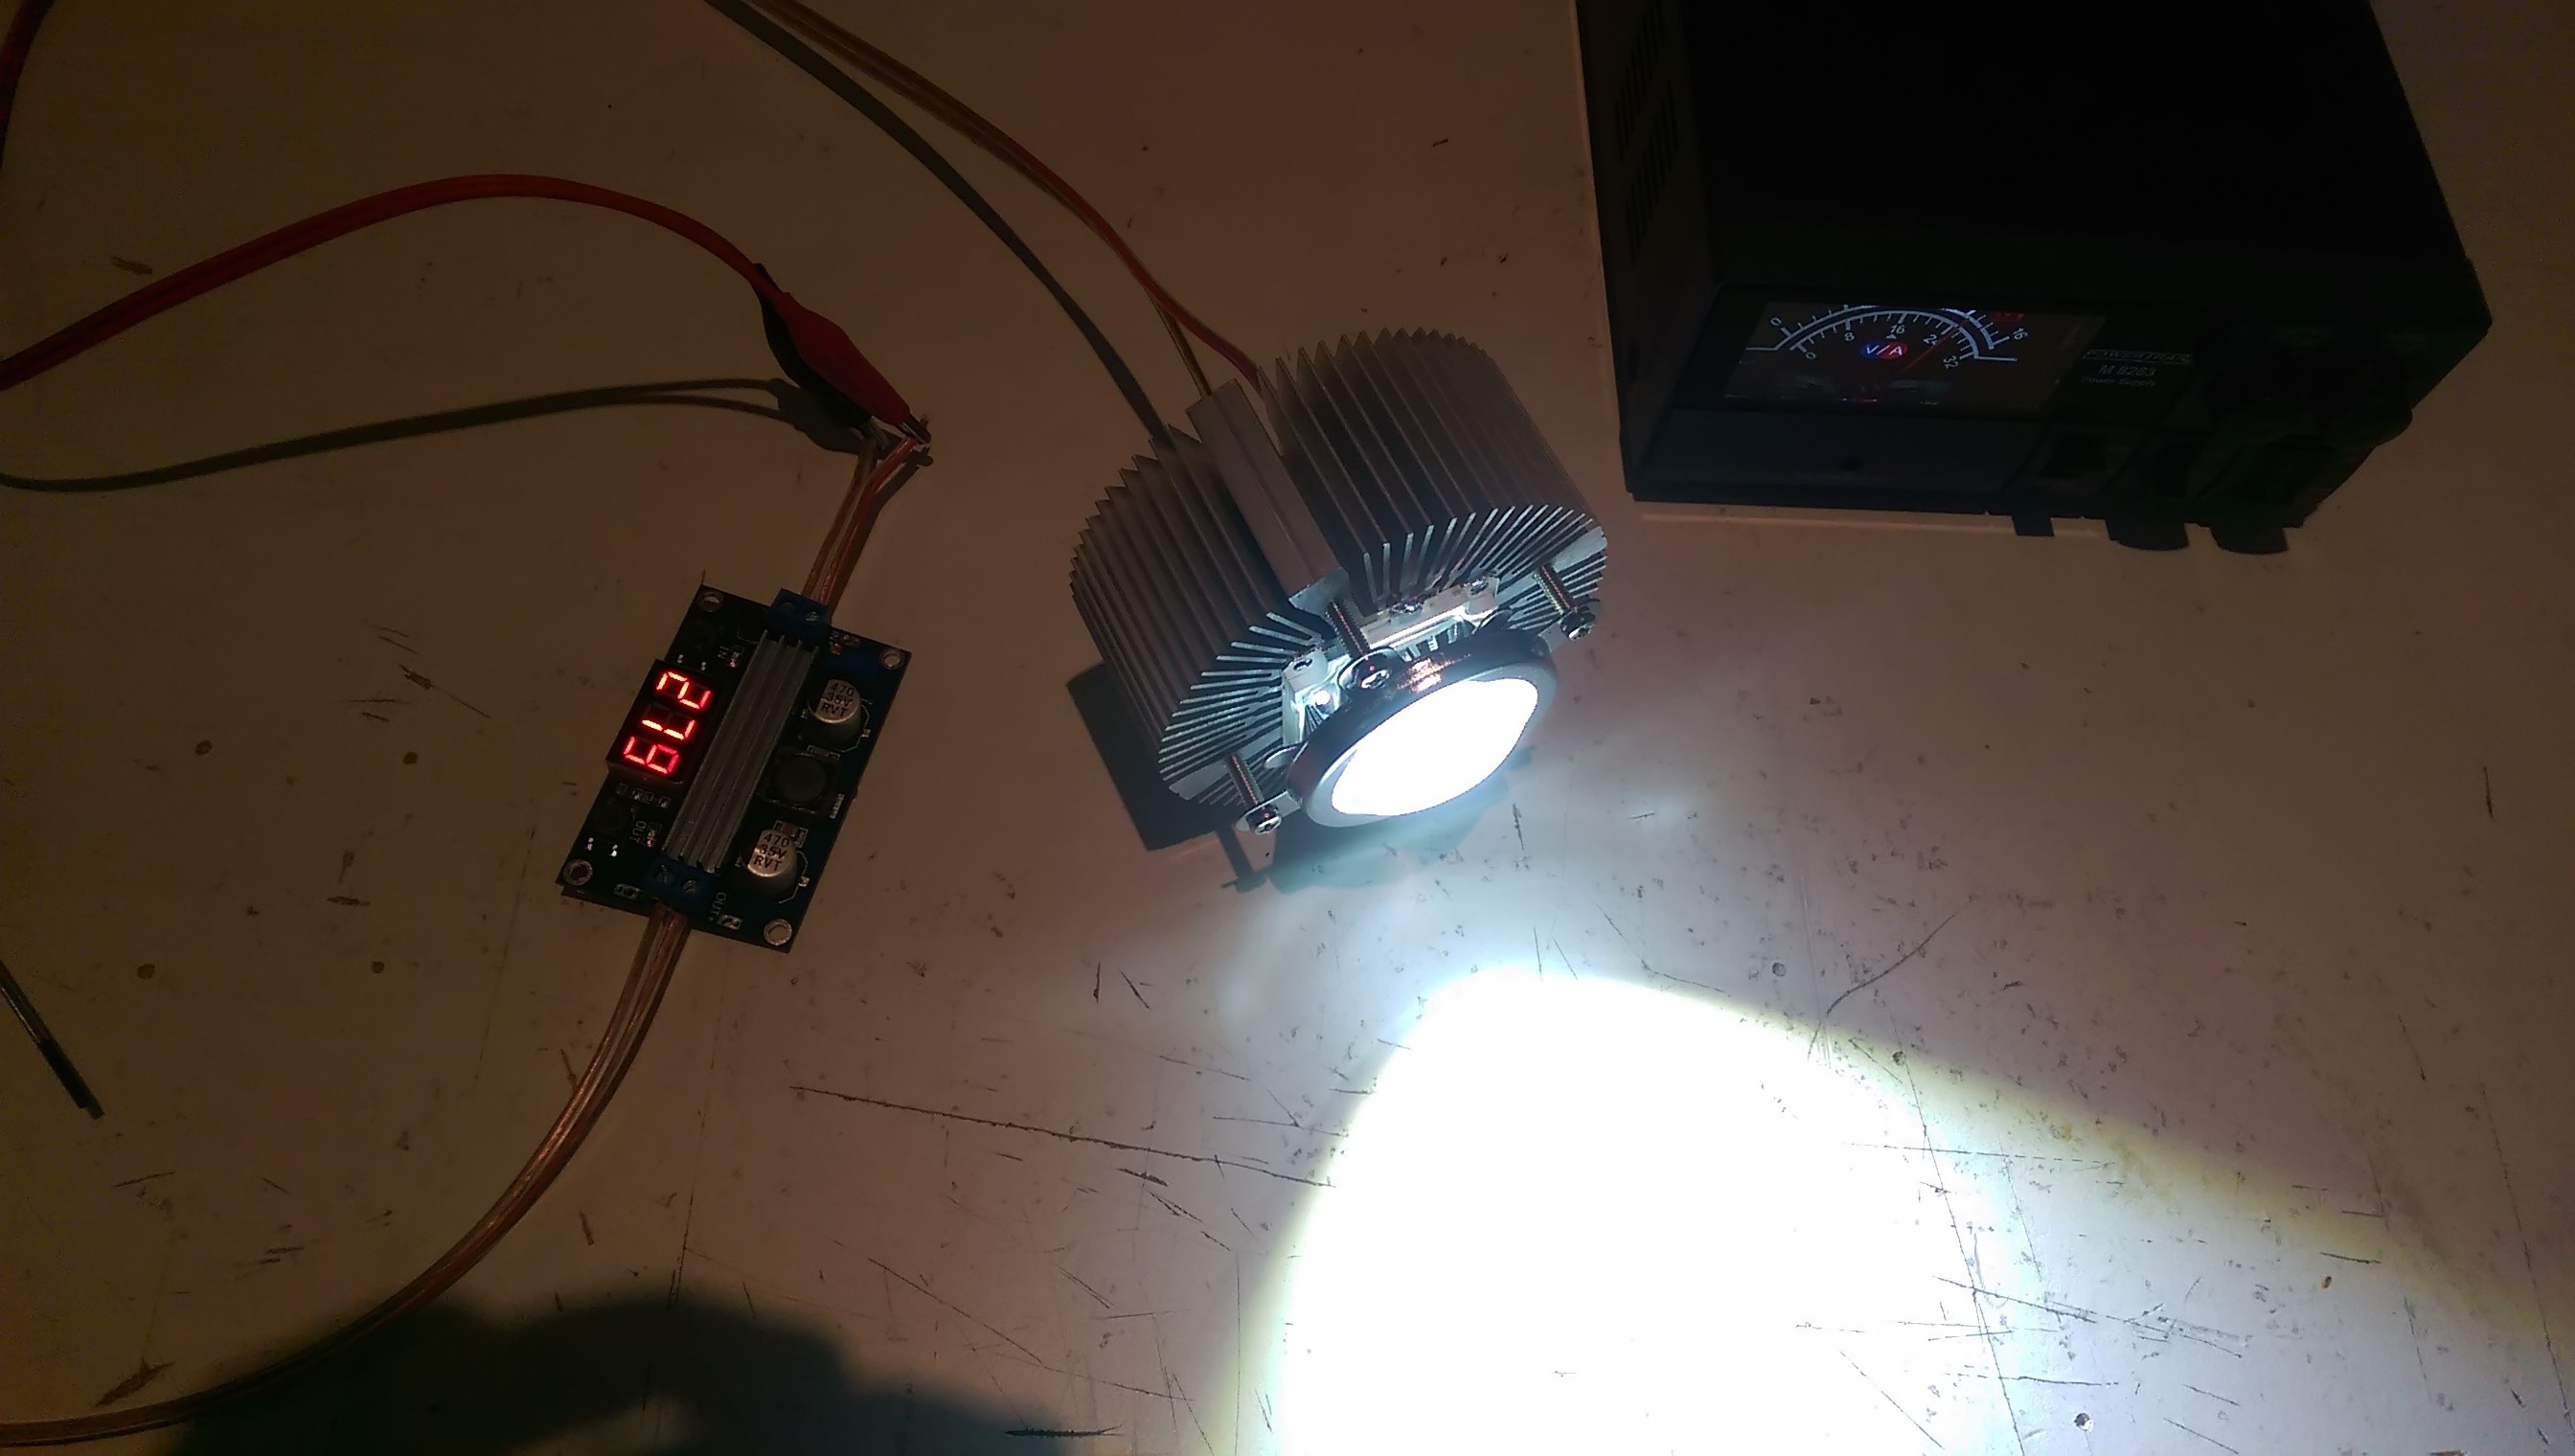
I left it running for a few minutes, and the heatsink was barely warm. I'll see how it goes at higher voltage, but if it gets too hot, I do have a couple of CPU heatsinks with fans. During the run, the leads from the power-supply got a bit toasty though. Oops. I should really get some better ones.
Wow, this project took a *lot* longer to complete than I had originally planned. Part of the reason was time spent learning from mistakes, but the torch did spend ages sitting on a bench in the corner of the workshop while I was working on other things. The progress photos below were taken over the course of several years.
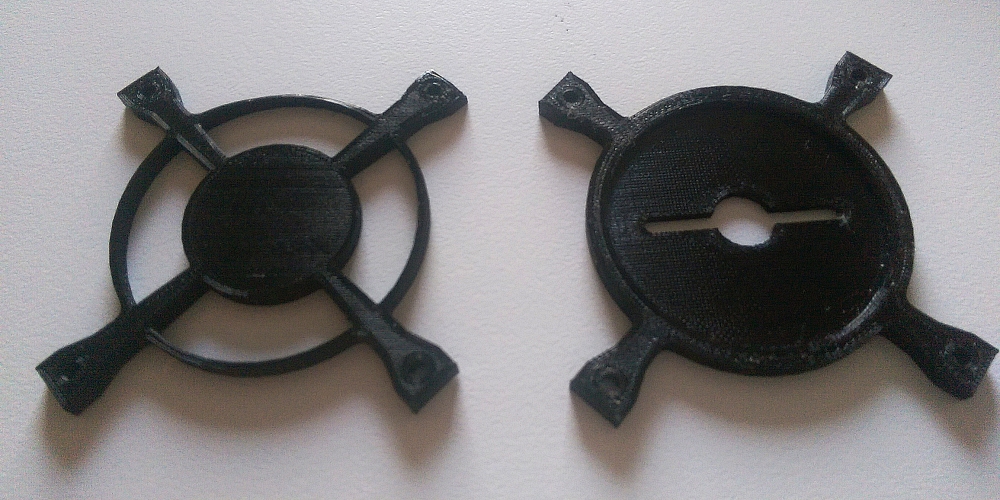
In the previous photos, there is a gap between the lens bracket and the heatsink, which needed to be filled in. I decided to machine a bracket from acrylic sheet on my newly-built CNC.
I used Autodesk Fusion 360 for the CAD/CAM, which is currently free for non-commercial/hobbyist use. It didn't take long to come up with a design which I could carve from the think acrylic sheets I had on-hand.
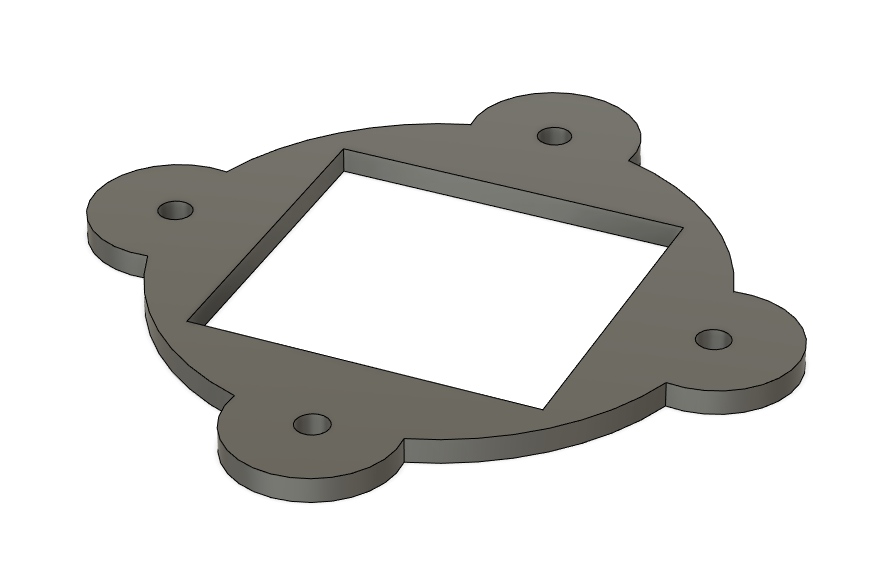
It took a few attempts to get right, as I was still learning the CAD software and CNC. The bracket on the bottom-left of the image wasn't cut correctly due to a mistake I made in the CAM setup. The holes were drilled by hand as the CNC didn't have homing capability at the time for me to accurately re-position after a tool-change.
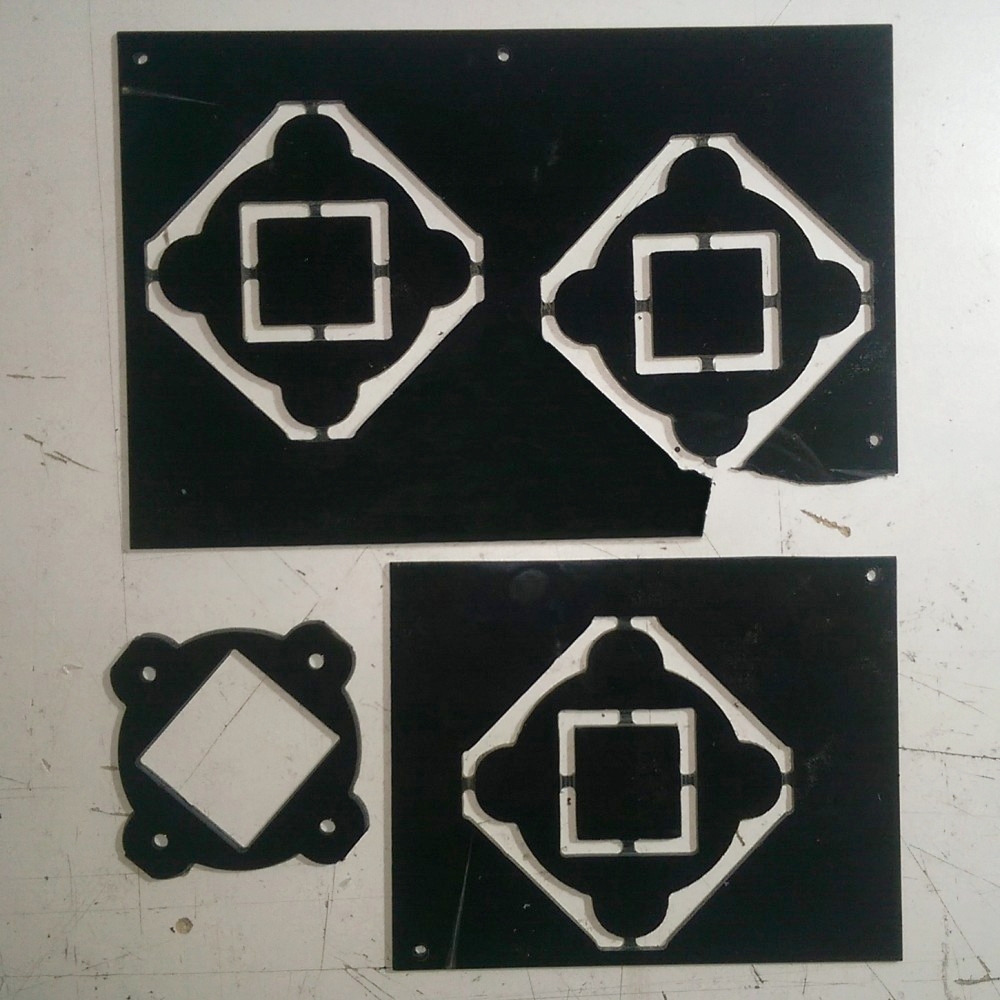
The three bracket layers were glued together with acrylic cement and then fastened to the heatsink.
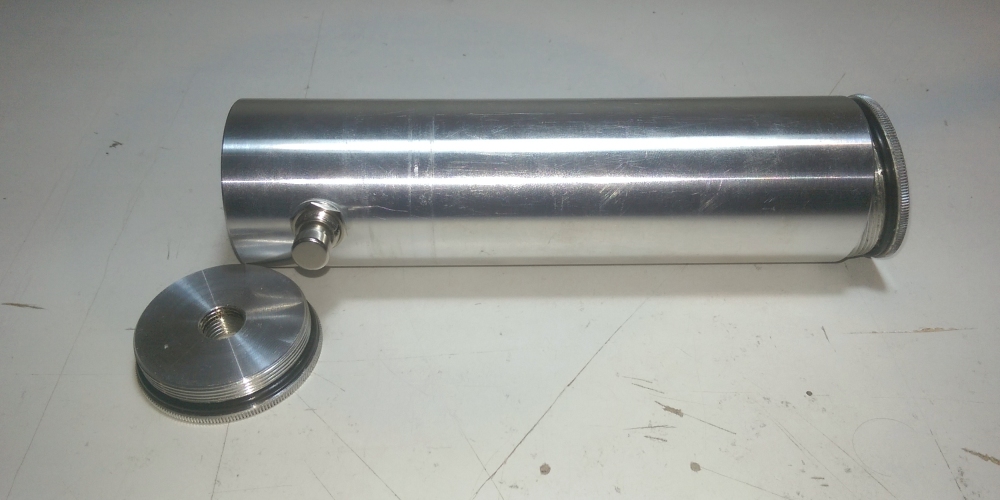
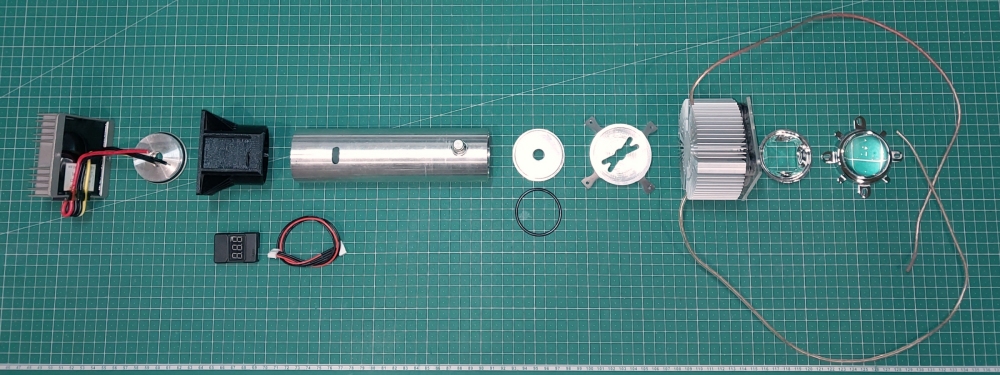
I decided on a traditional tubular torch/lightsaber shape. The main body of the torch is an old oil catch-can from a car, approximately 50mm in diameter. A suitably chunky power button was sourced from a spare parts bin.
I needed to design a bracket to join the heatsink to the torch body. The final bracket would be machined out of aluminium on the CNC, but I ended up spending a lot of time designing and 3d printing prototype brackets as that is far easier/cheaper than doing it in aluminium.
The prototypes also took a while because I was learning how to design and manufacture with a 3d printer as well. I initally chose to use ABS plastic for the printed torch components rather than PLA, as these were going to be structural parts and needed to be stronger/more heat tolerant. The ABS was a pain to work with. It would warp during printing (see the top-right arm in the left bracket part) even after trying various adhesion options (ABS slurry, tapes & glues) and building an enclosure for the printer.
I eventually gave up and switched to printing with PETG, and haven't looked back. The final design had two parts to make it easier to feed in the wires from the LED chip into the torch body.

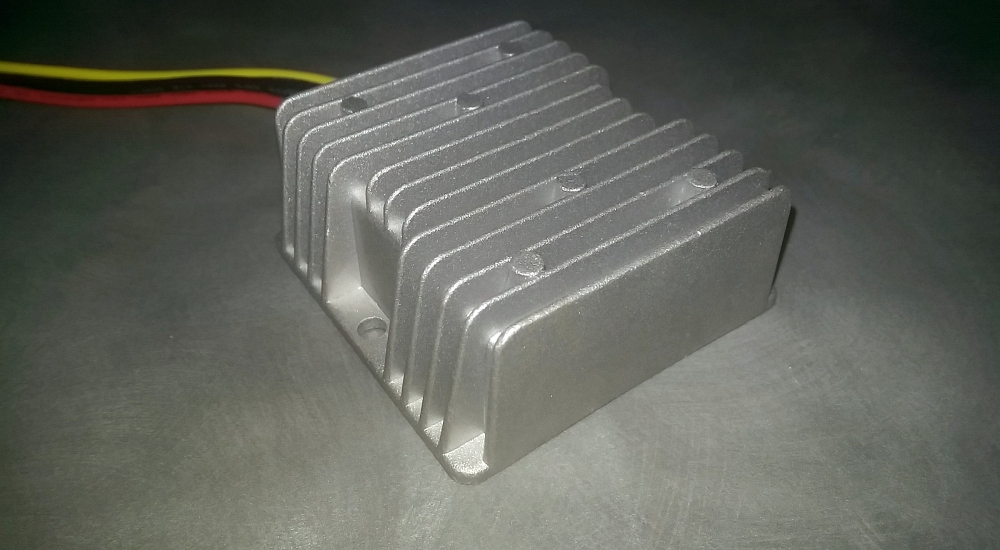
To simplify the design, I found a weather-proof DC-DC step-up converter with an integrated heatsink, which would be mounted to the bottom of the torch body.
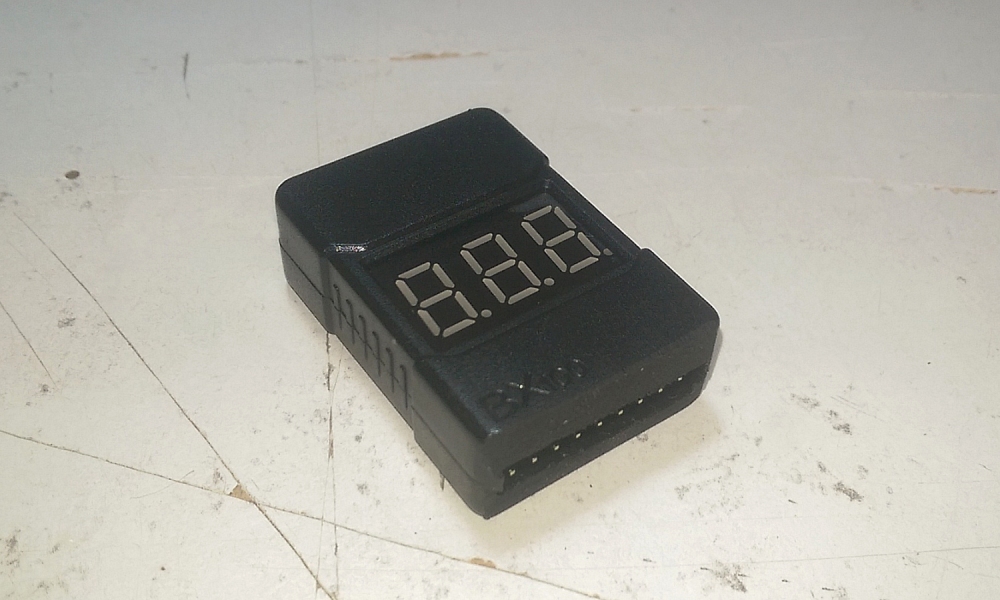
A battery monitor was also sourced to monitor battery voltages and alert when the battery was running low.
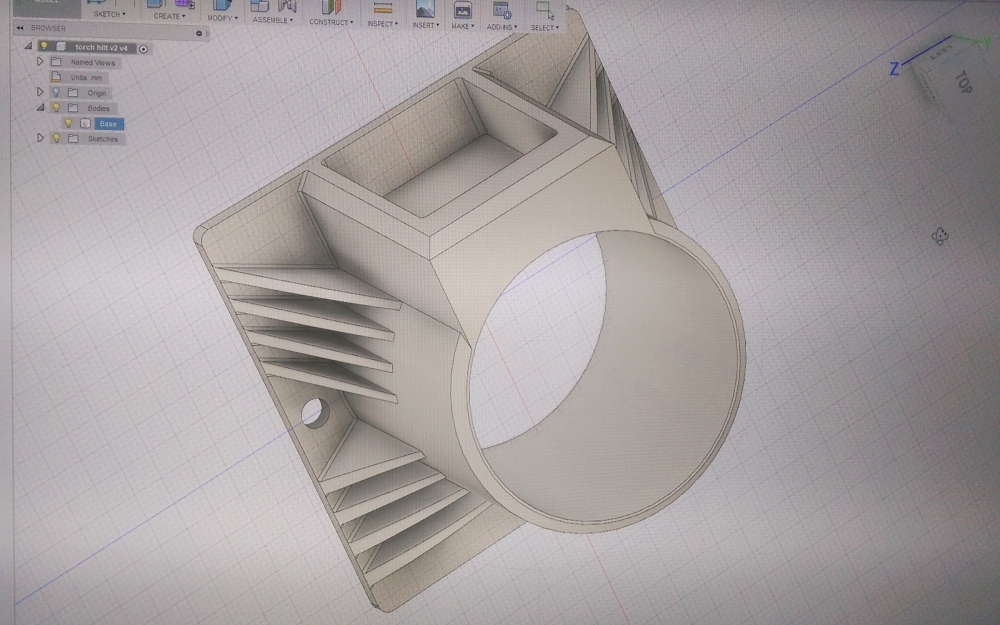
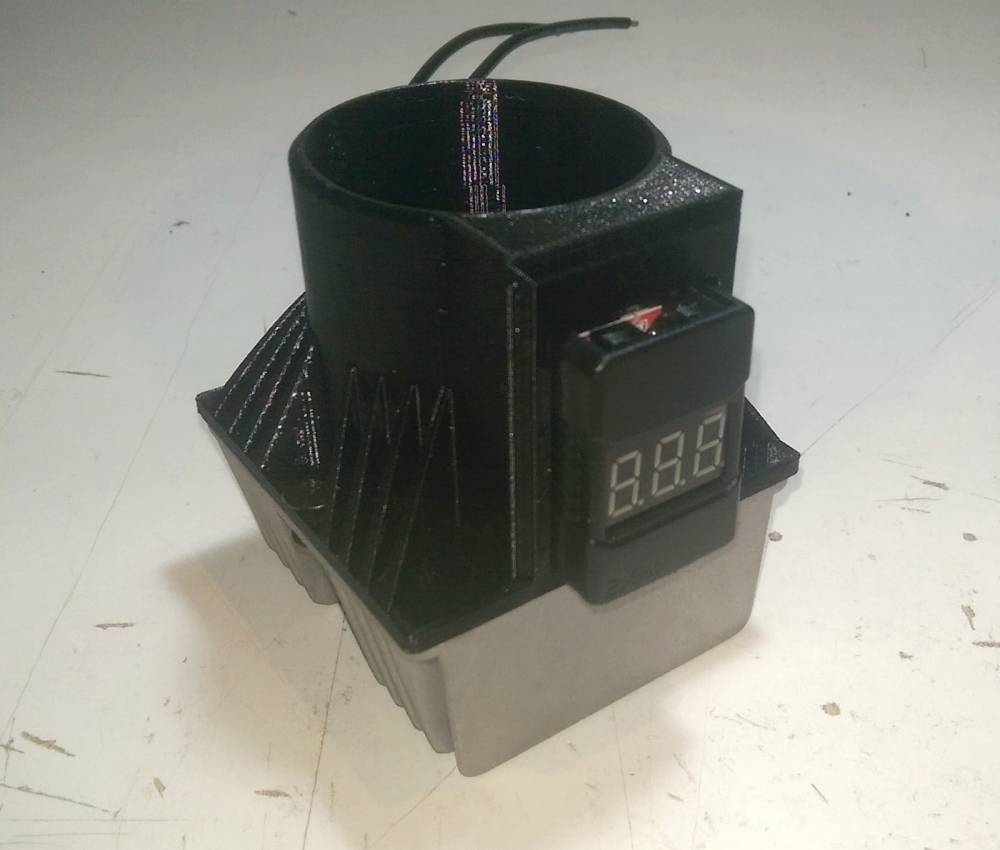
I designed a base for the torch in CAD which would be used to mount the voltage converter and monitor to the torch body.
The base was then 3d printed in PETG and a test-fit done. Chicago screws were used to connect the base to the converter. The battery monitor is press-fit into the base and wasn't inserted fully for the test fit.
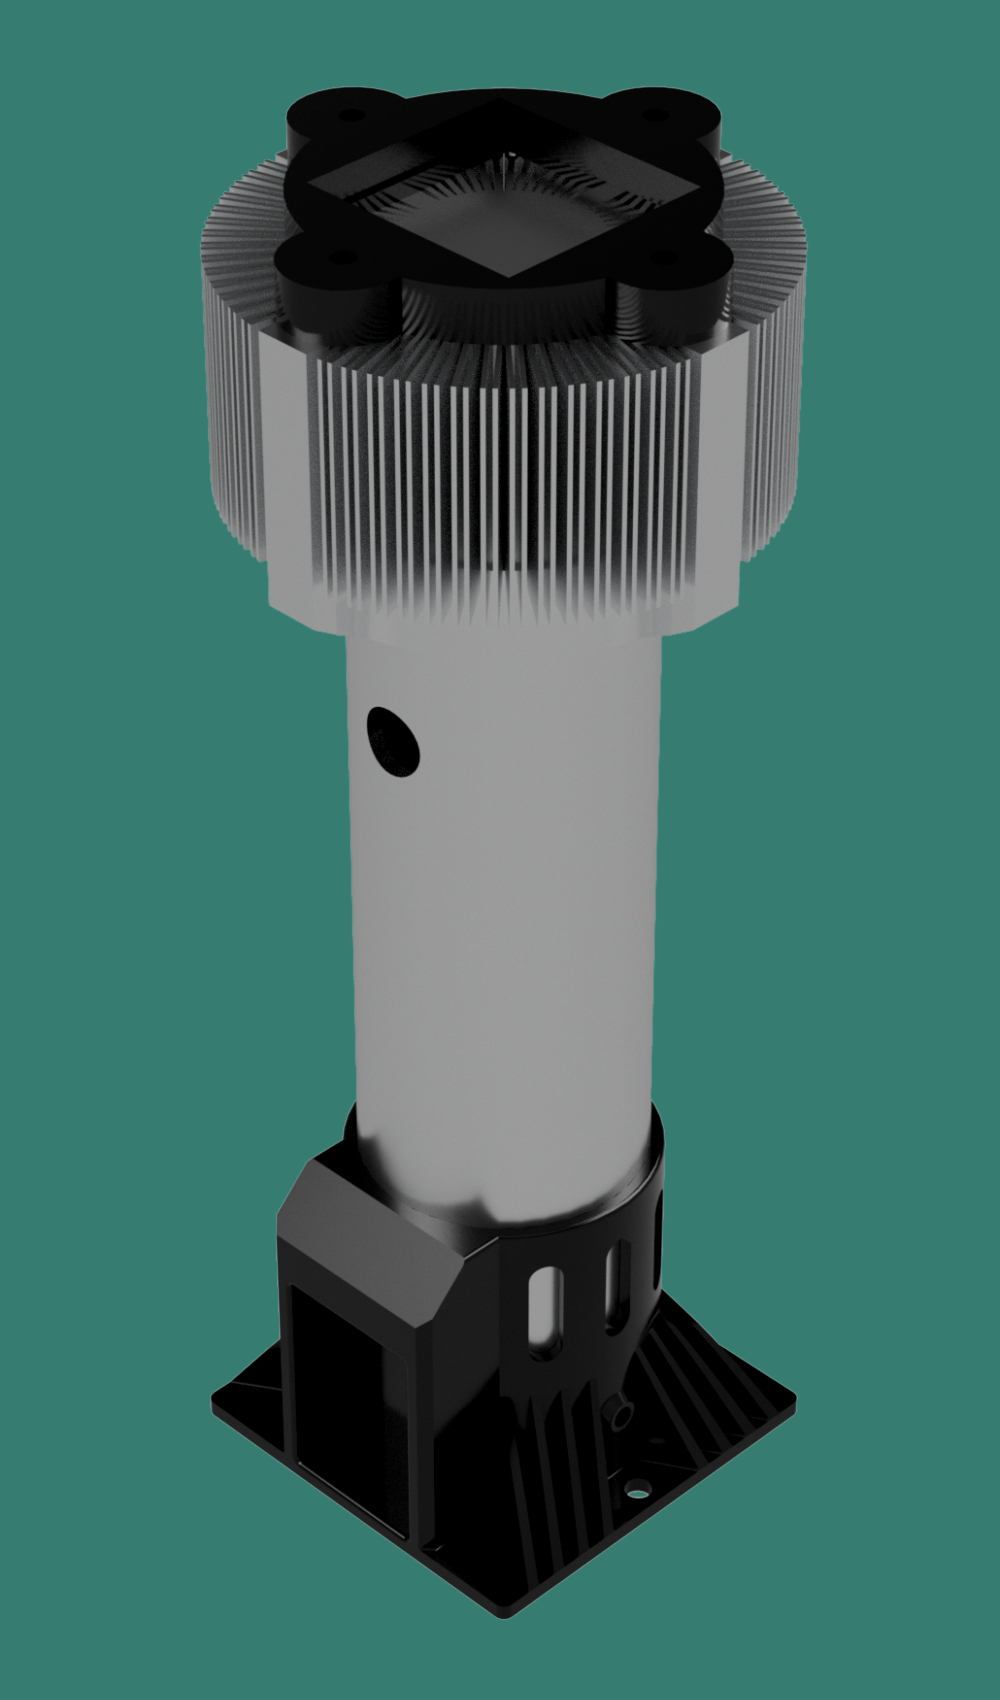
With the main parts completed, a more complete test-fit was done to see how it looked and get a feel of what it was like to handle/use. As a result, the base was slightly re-designed to improve its aesthetics, and the heatsink bracket simplified so that it could be machined out of a single thicker aluminium plate. The final design is shown in the CAD render on the right.
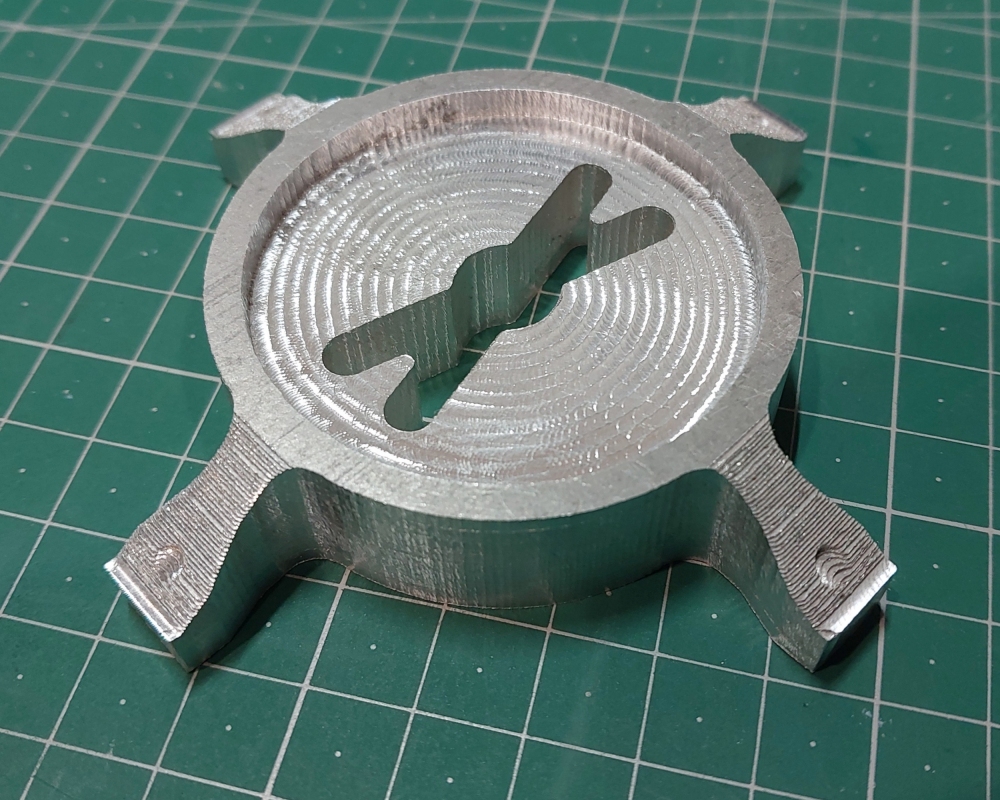
I found out that machining aluminium is much less forgiving than wood and plastic. Instead of completely tearing through material when something went wrong, it would only dig out a large chunk before the milling bit welded itself to the aluminium and snapped. I had to make some upgrades to my CNC - a bigger z-axis motor and lower z-axis speed limit to avoid missed steps, and limit switches and tweaked CAM settings to avoid the CNC digging into the material at the beginning or end of each machining operation.
I decided not to push my luck, and skipped the 3d machining and drilling operations on the CNC. The result wasn't too bad.
The photo below shows the finished bracket after some sanding and holes drilled for the screws to mount it to the heatsink. Two small holes were also made in the base to pass wires through.
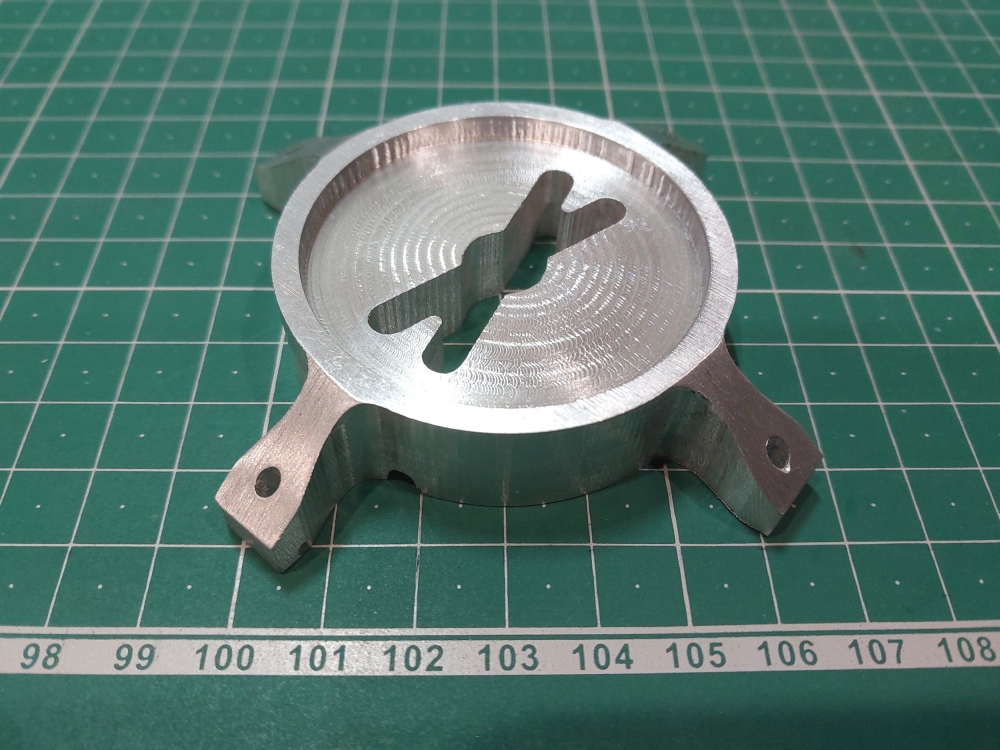
One of the end caps from the torch body was then press-fitted into the top of the bracket, and the join strengthed using aluminium brazing rods.
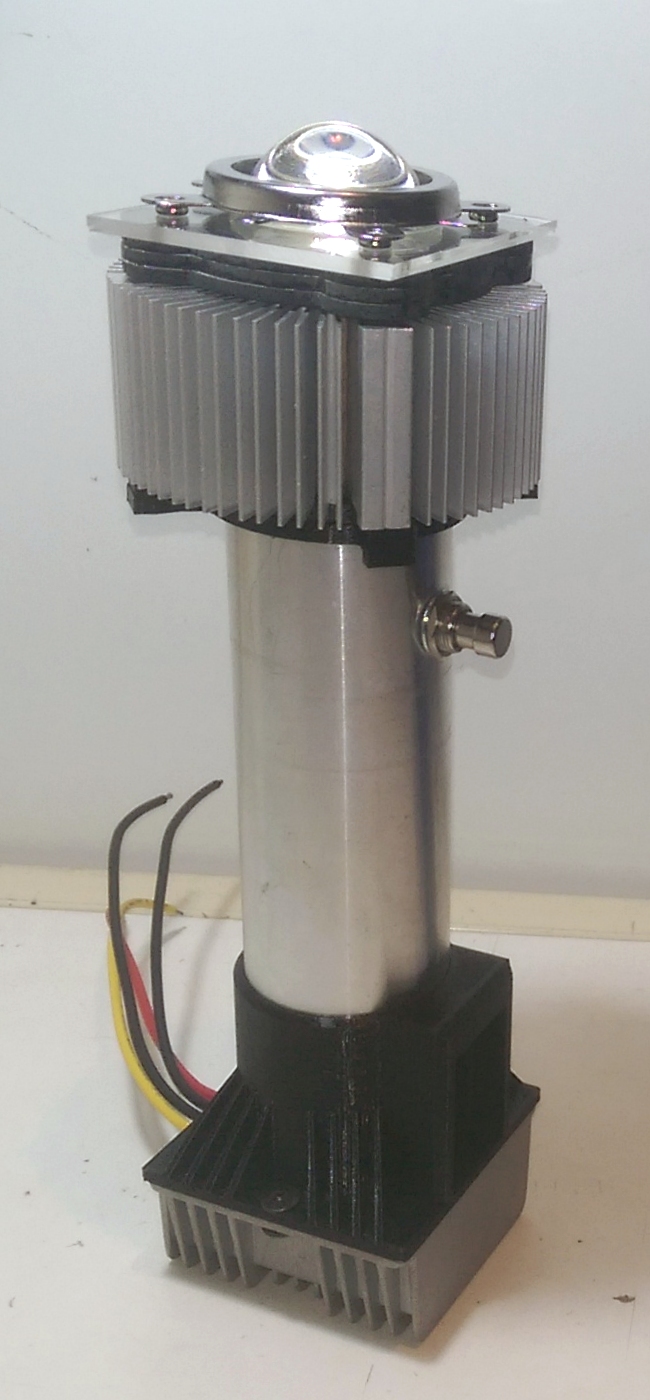
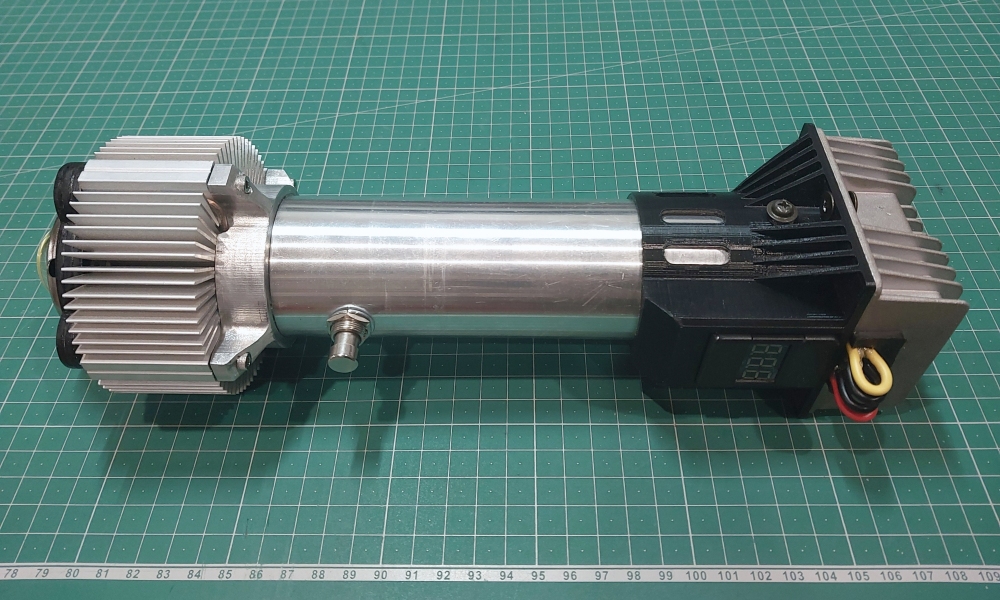
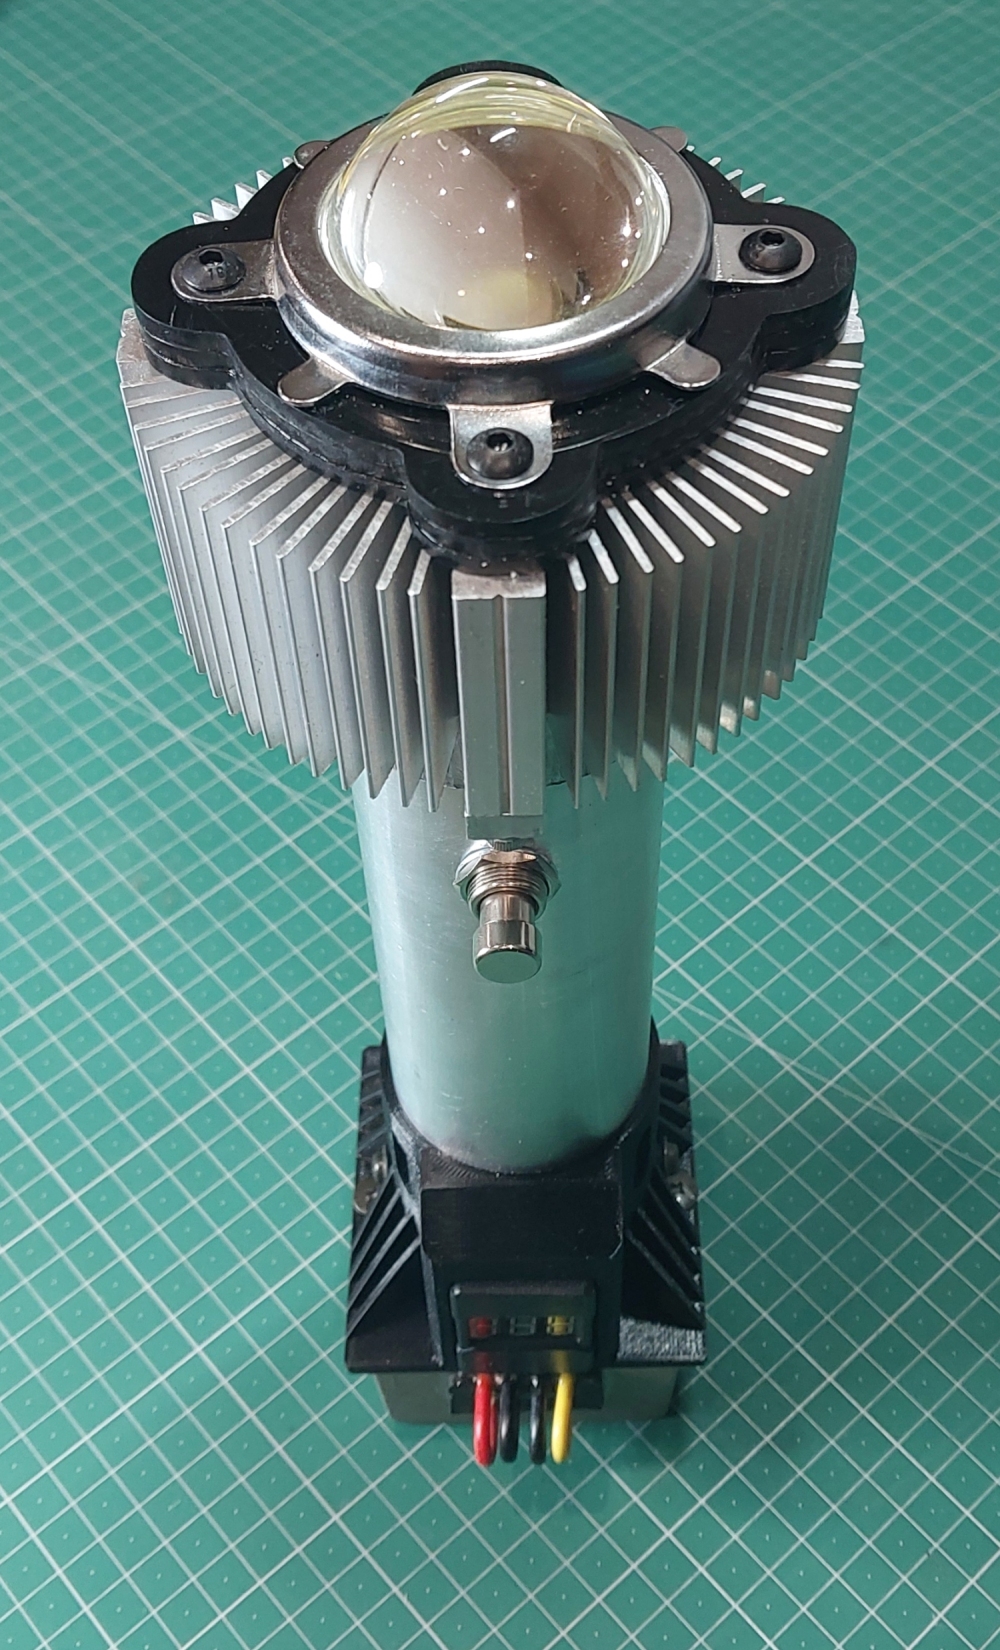
At this point, the torch was pretty much ready to assemble.
A 1800mAh 3S LiPo battery was bought to power the torch, and a few hours spent sorting out the wiring so that everything would fit nicely inside the torch body but still allow quick disassembly to charge the battery or swap out other parts. The photos below show the completed torch.
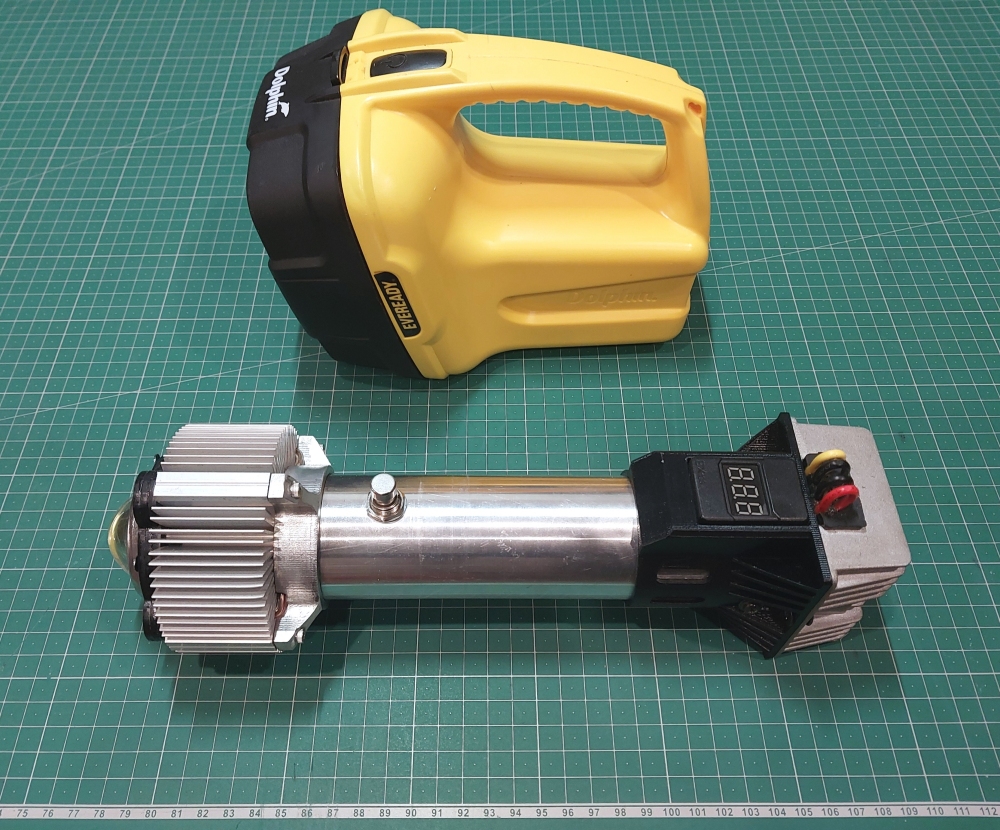
I haven't properly measured how powerful the torch is, but it is pretty bright. Here's a comparison of size vs a Dolphin torch. The grid on the workmat is 10x10mm.
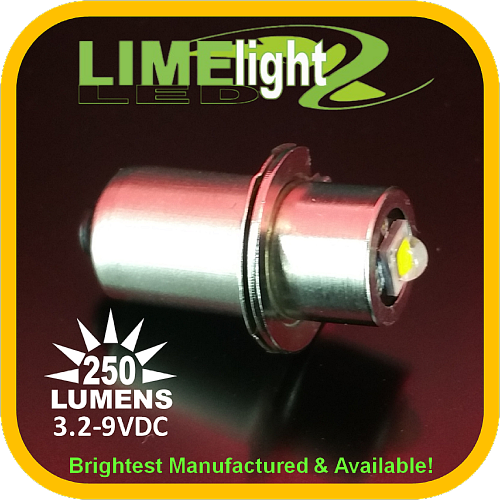
I had upgraded the weedy incandescent bulb in the Dolphin torch with the following (claimed) 250 lumen LED.
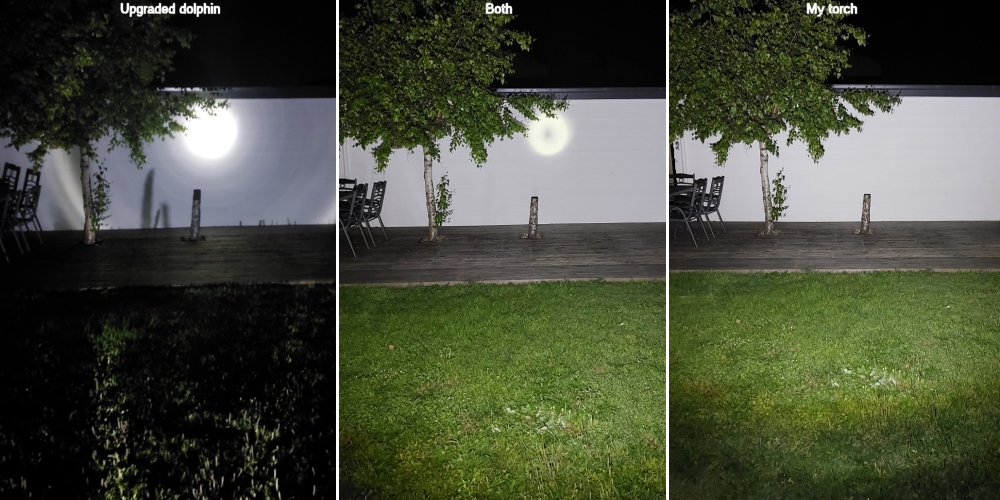
The photo below shows a comparison of the torches.
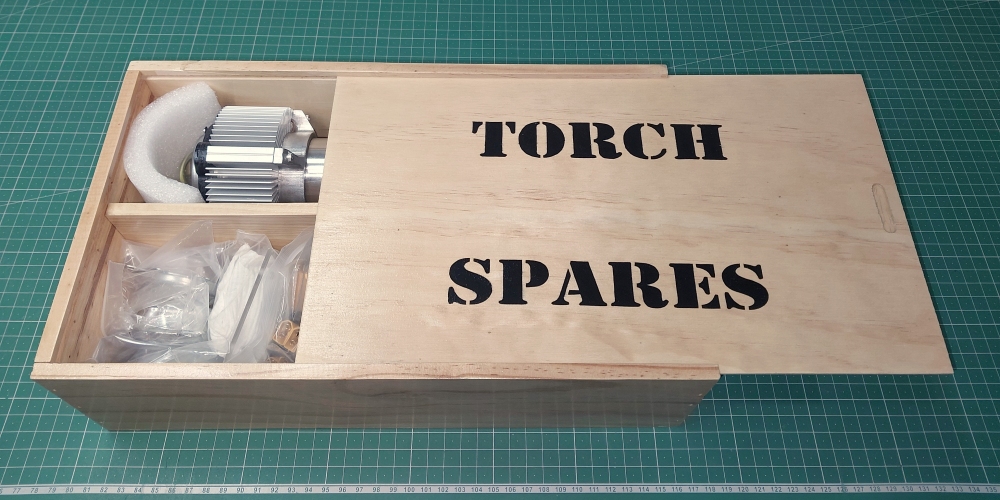
Finally, I cleaned up an old box to hold the torch and spare parts. The text was done with a masking-tape stencil & spray paint.